
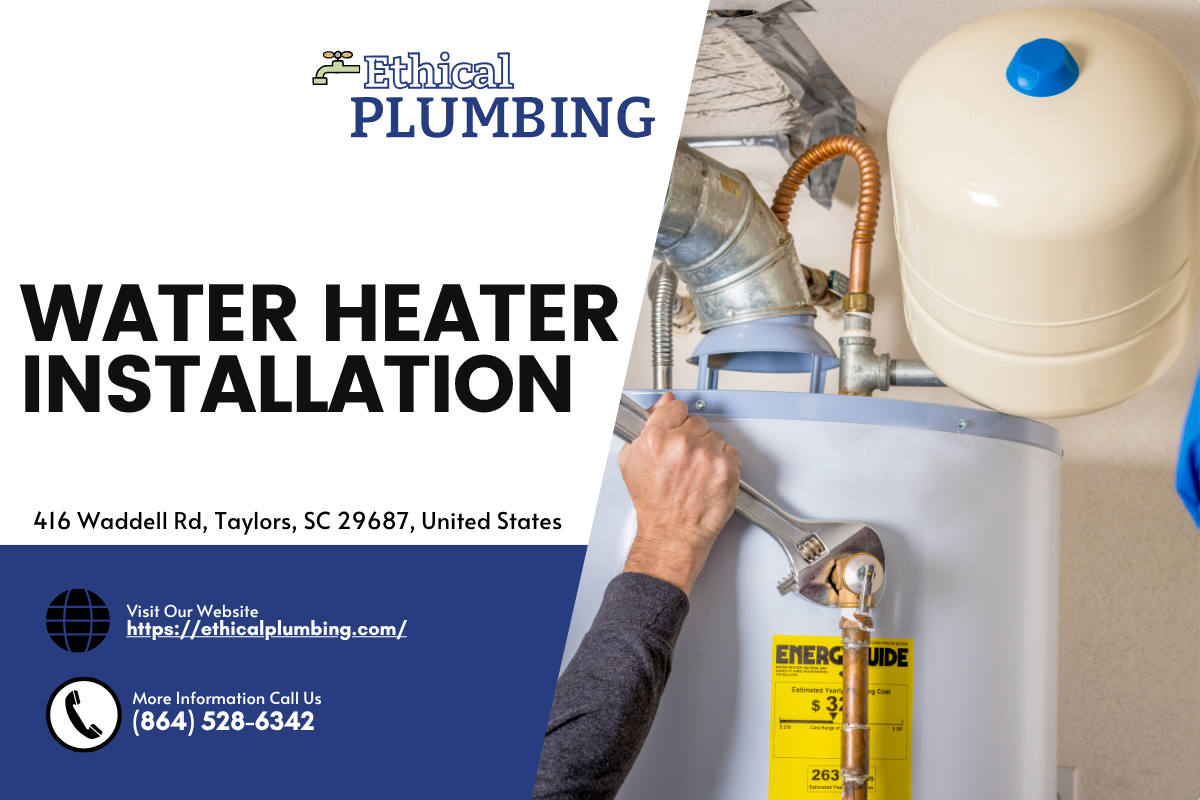
Installing a new water heater is an essential home improvement that can significantly enhance your household's comfort and efficiency. Whether you're dealing with a broken unit or simply upgrading to a more efficient model, understanding the installation process is crucial. In this comprehensive guide, we will walk you through each step of installing a new water heater in your Taylors home, from choosing the right model to ensuring proper maintenance.
Understanding the Importance of Water Heater Installation
Water heaters play a vital role in our daily lives. They provide hot water for various purposes, including cooking, cleaning, bathing, and heating. An effective water heater installation ensures reliable access to hot water while maximizing energy efficiency.
Why Choose Professional Water Heater Installation?
While some homeowners may feel tempted to tackle the job themselves, professional installation offers several advantages:
- Safety: Handling gas lines or electrical components can be hazardous. Expertise: Professionals understand local codes and regulations. Warranty Protection: Many manufacturers require professional installation for warranty validity.
Selecting the Right Water Heater for Your Taylors Home
Choosing the right water heater involves evaluating different factors such as size, type, energy source, and budget.
Types of Water Heaters Available
Tank Water Heaters- Traditional models that store hot water in a tank. Available in various sizes to meet household needs.
- Provide hot water on demand without storing it. More energy-efficient for smaller households.
- Use electricity to move heat instead of generating it directly. Ideal for homes with moderate climates.
- Harness solar energy for heating water. Environmentally friendly but may require backup systems for cloudy days.
Size Matters: How to Determine the Right Capacity
To select the ideal size for your new water heater:
- Calculate your household's peak hour demand (the maximum amount of hot water you use during busy times). Consider how many people live in your home and their habits (e.g., long showers).
Example Table: Peak Hour Demand Calculation
| Household Size | Peak Hour Demand (Gallons) | |----------------|-----------------------------| | 1-2 | 30 | | 3-4 | 40 | | 5+ | 50+ |
Preparing for Your New Water Heater Installation
Once you've selected the right type and size, it's time to prepare your space for installation.
Gathering Necessary Tools and Materials
Before starting your installation project, make sure you have all necessary tools on hand:
- Screwdrivers Pipe wrenches Teflon tape Safety goggles Level Electrical meter (if needed)
Shutting Off Utilities Safely
Safety first! Always shut off gas or electricity before beginning any installation work. This prevents accidents and ensures compliance with safety standards.
How Do I Shut Off My Gas or Electricity?
For gas:
Locate the gas shut-off valve near your existing unit. Turn it clockwise until secure.For electrical:
Switch off the circuit breaker dedicated to your old unit. Confirm power is off using an electrical meter.A Step-by-Step Guide to Installing a New Water Heater in Your Taylors Home
Now that you're prepared, let's delve into the step-by-step process of installing your new water heater effectively and safely.
Step 1: Removing the Old Unit
Disconnect Power/Gas Supply:- For electric units, turn off power at the breaker panel. For gas units, shut off the gas supply as mentioned earlier.
- Attach a hose to the drain valve at the bottom of the tank. Open the valve and let it drain completely into a suitable bucket or drain.
- Use pipe wrenches to carefully disconnect cold and hot water pipes from both sides of the old unit.
- If you’re replacing a gas unit, unscrew any vent pipes connected above it.
- With assistance if necessary, lift out and dispose of your old unit properly according to local regulations.
Step 2: Preparing Your Space for Installation
Inspect Area:- Ensure there’s adequate space for ventilation (especially for gas units).
- Use a level tool before placing your new unit down; adjust as needed using shims if necessary.
Step 3: Connecting Your New Water Heater
Positioning:- Place your new unit in its designated location with enough clearance around it per manufacturer instructions.
- Connect cold-water supply line to inlet marked "C" on top of tank. Connect hot-water supply line to outlet marked "H."
Venting (for gas units):
- Attach flue vent pipes securely according to code requirements ensuring proper alignment with exhaust system outside.
Electrical Connection (for electric models):
- Connect wires according manufacturer’s specifications ensuring ground wire is appropriately attached too!
Step 4: Filling & Testing Your New Unit
https://ethicalplumbing.com/ Turn On Cold-Water Supply Line:- Gradually open valve while checking connections for leaks
2.. Power Up Unit & Set Temperature Control
- If electric—flip circuit breaker back on! Adjust temperature settings based on preference but keep below 120°F recommend safe use .
3.. Conduct Leak Test
- Observe all connections closely watchful signs leaks could cause major issues future!
Step 5: Final Touches & Maintenance Tips
After successfully installing your new water heater follow these crucial maintenance steps ensure longevity optimum performance:
- Schedule Regular Inspections with professionals who offer quality services like "water heater repair Taylors." Flush Tank Annually remove sediment buildup—important especially if hard minerals present locally! Replace Anode Rod Every few years extending life span protecting inner lining from corrosion damage .
FAQ Section
Q1: How long does it take to install a new water heater?
A1: The installation process typically takes about two hours depending on complexity; however certain factors might extend this duration such as needing additional plumbing/electrical work performed alongside install itself!
Q2: Can I install my own tankless water heater?
A2: While DIY enthusiasts may attempt this task we recommend hiring professionals due safety concerns potential complications arise throughout process making expertise invaluable .
Q3 : What types of warranties do I get when purchasing ?
A3 : Most manufacturers provide warranties ranging anywhere from one year up till over ten years based chosen model so always check documentation thoroughly before purchase!
Q4 : Is maintenance really necessary?
A4 : Absolutely! Regular maintenance helps prevent costly repairs down road leading longevity enhanced efficiency throughout lifetime appliance itself .
Q5 : What are signs my current unit needs replacing?
A5 : Common indicators include inconsistent temperatures , strange noises coming from tank , discolored/or foul-smelling hot-water – all these should prompt immediate attention diagnosis expert technician help determine best course action moving forward .
Q6 : Should I consider upgrading my old traditional system ?
A6 : Yes! Upgrading not only improves efficiency lowers utility bills but also opens door modern features available newer models like smart technology control via smartphone app offering convenience ease use every day scenarios !
Conclusion
In conclusion, installing a new water heater can be an involved yet rewarding endeavor that greatly enhances comfort within your Taylors home . By following this detailed step-by-step guide along with seeking professional assistance whenever needed – you'll ensure successful completion task without hassle worry . Remember proper care maintenance play key roles keeping everything running smoothly long after initial setup finished ! So go ahead take plunge invest time effort into creating better living environment today ensuring warmth cozy atmosphere awaits those chilly nights ahead !